Did you know that 51% of energy use in a typical home is for heating and cooling?
If your energy costs are spiking, one of the best ways to reduce them is by insulating your loft. If your loft is not insulated it can turn your home into an ice box in winter, and an oven in the summer.
Fortunately insulating a loft is not that complicated to do once you know the steps involved.
Are you thinking about doing your own DIY loft insulation? Keep reading to find out how to carry out this home renovation project like a pro.
Prep Your Loft Area
The first thing to do before any type of loft renovation is to prepare the area.
Make sure you hang up a strong portable light so you can see what you are doing. Then start checking your joists for any signs of cracking or rot. If your joists look solid and free from cracks and rot, they are safe to walk on.
Once you have verified that you can walk around safely on the joists in your loft, give the area a good vacuum to clean up excess dust.
If any of your overhead lights protrude up through the ceiling into your loft, you will need to cover these with downlight covers.
Calculate How Much Insulation You Need
You will need to lay insulation squares into the spaces between your joists. Then you will need to lay down another layer to cover the joists and insulation you have already put down to get to the required thickness.
To calculate how much insulation you need start by measuring the total square area of your loft floor. Then measure out the square area of each depression between your joists and add this together.
Assemble Your Tools
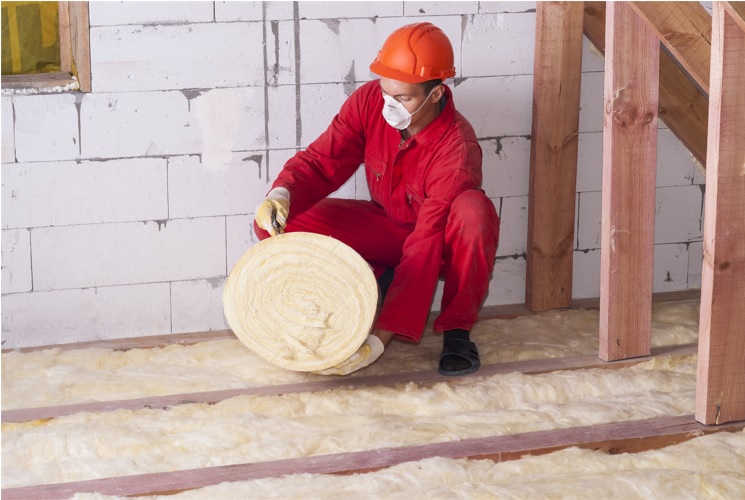
To lay loft insulation, you will need an insulation cutter, a pair of sturdy scissors, and some protective clothing. Including a pair of overalls, gloves, goggles, and a mask.
Take note this is only necessary for synthetic types of loft insulation.
If you are using sheep’s wool loft insulation, you won’t need protective gear, as sheep’s wool is not a skin irritant.
Lay Down the Loft Insulation
To lay down your loft insulation, start by cutting out rectangles to fit between the joists. Simply lay these down in place, and once you’ve laid the last rectangle you can proceed to roll out another layer of insulation over the entire area of your loft.
Make sure to lay down the second layer of insulation at a 90-degree angle to the first layer.
Don’t Forget to Insulate Your Loft Hatch
Before you finish up, do not forget to apply a piece of insulation to your loft hatch. Not insulating your loft hatch can make for a sizeable gap through which cold and hot air can pass.
Cut a square of insulation to your fit loft hatch and secure it down with staples or glue. To further insulate the loft hatch, you can also attach draught-proof strips around the sides.
Not happy with your existing loft hatch? If so, hold off on insulating it until you replace it with a better model. You can read more here on how to choose the right loft hatch.
Insulate Your Water Tank and Pipes
Last but not least make sure you insulate your water tank and pipes. Insulating your loft will cut it off in winter from the heat rising from down below, and leave your water pipes and tank susceptible to freezing.
Insulating Your Loft Is a Smart Homeowner Move
Insulating your loft is one of the smartest things you can do as a homeowner. And as you can see, putting down loft insulation is also not that complicated.
Are you looking for homeowner and real estate-related reads? Scroll the blog for more


